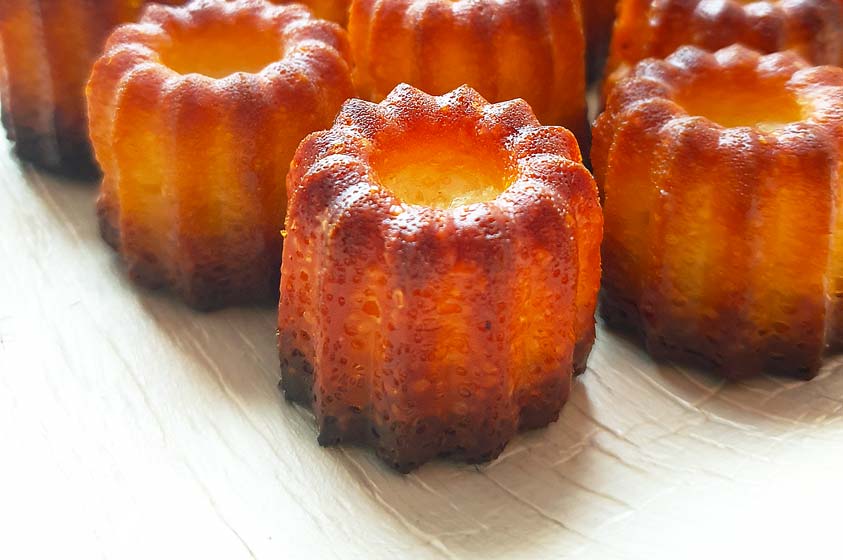
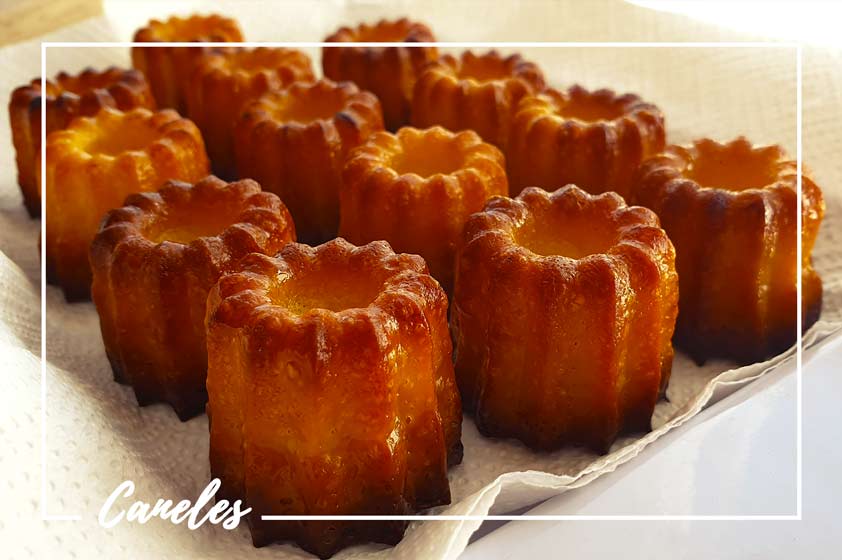
The canele, a delicious pastry with a caramelized exterior and a custard-like middle, is one of the best and beloved French desserts. Though making caneles recipe takes some time and patience, but the work is well worth it in the end. Planning ahead is essential because the dough needs between 24 and 48 hours to rest in the refrigerator in order to develop its full flavor and texture. Let’s now explore the techniques for making these delicious mini caneles!
Canele or Cannele – which one is the right writing?
You may have come across both “canele” and “cannele” while searching for caneles recipe. The correct spelling is “canele.” However, in English, it’s often referred to as “cannelé” due to the accent mark over the first “e.” So, feel free to use either term, but the authentic French spelling is “canele.”
What mold to choose for Caneles?
Traditionally, copper canele molds are used in French patisseries, and they are indeed the best option for making large caneles. Copper is an excellent conductor of heat, ensuring the batter cooks quickly and consistently, resulting in that signature dark brown crust.
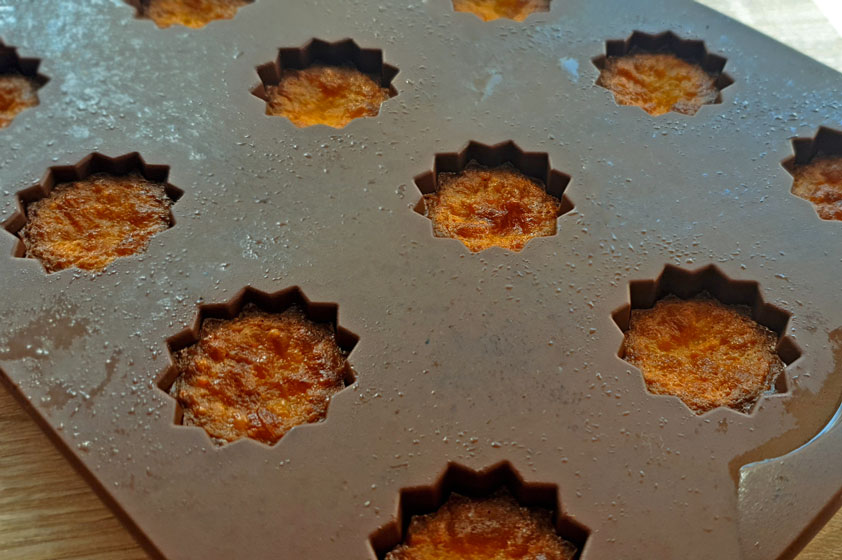
Using copper molds for small caneles can be fairly expensive and difficult to get. However, for making mini caneles, high-quality silicone baking molds are great for this caneles recipe. Look for silicone or coated with tin or steel molds with 12–15 cavities per tray. They are more reasonably priced and deliver great results. I personally use silicone molds from Tupperware, and they have never failed me.
Coating molds
The molds must be coated before baking in order to get the caneles’ beautiful caramelized crust. Traditionally, a protective exterior coating made of beeswax keeps the canele’s shape as it bakes. Even though beeswax is the best option, using only butter also works well for this caneles recipe.
For silicone molds, butter is the coating of choice. Simply brush a thin layer of softened butter onto the cavities of your silicone molds, ensuring the surfaces are evenly coated. This will help achieve that beautiful crust on your mini caneles.

Choosing the right temperature for Caneles
When baking mini caneles in silicone molds, it’s essential to follow the right temperature and timing. Preheat your oven to 220°C (approximately 430°F) and bake the caneles for about 10 minutes. Then, lower the heat to 200°C (approximately 390°F) and continue baking for an additional 25-30 minutes. This gradual temperature change helps create the perfect balance of caramelization and creamy texture inside the caneles. Caneles will be done once they develop a dark, caramelized crust.
Storing and Reheating
Storing: allow caneles to cool completely, then place them in an airtight container or sealable plastic bag. And keep at room temperature for up to two days, or you can refrigerate them for up to four days.
Reheat: Caneles are tasty cold, but if you really want warm caneles, then you can simply pop them in a preheated oven at 180°C (approximately 355°F) for about 5 minutes.
Freezing: not recommended

Mini French Canele recipe
Equipment
- 1 Mini canele form (15 per tray)
Ingredients
- 500 ml milk
- 50 g butter
- 100 g flour
- 200 g caster sugar
- 0.5 tsp salt
- 2 whole eggs
- 2 egg yolks
- 2 tbsp dark Rum
- 1 tbs vanilla sugar
- 40 g brown sugar
Instructions
- Melt the butter in a pot over low heat and add the milk. Allow the milk to start boiling on low heat and then remove it from the stove. Let it cool down until you can stick your finger in the milk without getting burned.
- In a separate bowl, mix the dry ingredients: flour, sugar, salt, and vanilla sugar. Sift the dry ingredients together to ensure a smooth mixture.
- In another bowl, whisk the eggs for a few seconds (do not beat them). Add this mixture to the dry ingredients and mix well.
- Slowly pour the milk and butter mixture into the dry ingredients and egg mixture while continuously mixing.
- Sift the mixture again to remove any larger pieces from the egg yolks, ensuring a smooth texture. Add the Rum and gently mix it in.
- Leave the mixture in the fridge to rest for 24-48 hours.
- Preheat the oven to 230°C (it is crucial to have the exact temperature for the caneles, so do not put them in the oven until it reaches this temperature).
- Take the mixture out of the fridge, give it a good whisk to get a smooth consistency, and pour it into the forms up to 3 mm from the top, leaving some space for the caneles to rise.
- Place the caneles in the oven and bake for 10 minutes. After 10 minutes, lower the heat to 200°C and continue baking for 25-30 minutes (avoid opening the oven during this time).
- The caneles should have a dark golden look with a caramelized, crunchy top. To check if they are done, you can take one canele and cut it in half. The inside should have a honeycomb-like texture and be soft and moist.
- Take out the tray and let it cool down for a couple of minutes. Now you can remove the caneles from the forms.
- Caneles are most delicious within the first several hours, so try to enjoy them right away instead of saving them for the next day.
Nutrition table of mini Caneles
| Nutrition Facts | |
| Amount per serving | 100 g |
| Calories | 190 Kcal |
| Energy value | 802 kJ |
| Fat | 8 g |
| Saturated Fat | 4 g |
| Carbs | 28 g |
| Sugar | 21 g |
| Protein | 5 g |
| Salt | 0.4 g |


One reply on “Mini French Caneles recipe”
Niekada neesu kepusi, bet taip norėčiau paragauti naminių!!!Gal pas jus galima užsisakyti jų?